Most of us learned to build a fire the same way: crumple some paper, drop in a handful of twigs, then balance a log on top like a roof beam. It works, but it's clumsy. The paper burns out in ninety seconds, the twigs smolder, and for the first twenty minutes you're crouched at the hearth pushing air at a pile of wood that's sulking instead of burning. Flip the whole thing over and the fire behaves better from the first match to the last coal.
Why the Top-Down Lay Works Better
In a conventional fire, the flame starts at the bottom and has to fight its way up through cold, damp wood. The logs above the fire get heated slowly, and much of the gas they release escapes up the chimney unburned. That's what you see when a fire smokes heavily at startup — fuel that's being cooked rather than combusted.
The top-down lay reverses the order. Tinder and kindling sit at the top of the pile, so the fire starts in the highest, most exposed spot. As the kindling burns, the flame descends gradually into the layer below, preheating it and igniting it from above. Every bit of smoke rising off the lower wood has to pass through the burning zone on its way up the flue, and a good portion of it gets consumed there instead of drifting into your room or condensing in the chimney.
The practical payoff is simple: the fire lights on the first or second try, it produces noticeably less smoke during startup, and it doesn't collapse the moment you add another log, because the big pieces are already at the bottom where they belong.
What You Need Before You Start
- Split, seasoned firewood. Dry wood is the single biggest factor in a clean burn. Wood that hisses, sizzles, or feels heavy and cool is too wet; it will smoke and steam no matter how you stack it.
- Kindling. Small dry sticks, roughly pencil to thumb thickness, broken or split to short lengths.
- Tinder. Crumpled newspaper, dry shavings, a bit of cardboard, birch bark, or a commercial fire starter. Skip glossy magazine pages and anything plastic-coated.
- A long lighter or matches. Long is better; you'll be reaching over the top of the pile.
- A grate or andirons, if your fireplace uses them. A flat hearth with a shallow ash bed works fine too.
The Lay, Layer by Layer
- Leave a bed of ash. About an inch of cold ash insulates the firebox floor and helps the fire hold heat. You don't need a spotless hearth.
- Place your largest logs on the bottom. Two or three splits, laid front to back rather than side to side. Front-to-back logs draw air along their length, and if one shifts, it rolls toward the back of the firebox instead of out onto your rug.
- Leave gaps between them. An inch or so of space lets air move up through the pile. A tightly packed base smothers the fire you're trying to build.
- Add a middle layer of medium splits. Lay these across the bottom logs at a right angle, again with space between them. This is the layer that will catch first and start feeding the big wood.
- Build the kindling nest on top. Crisscross small sticks so air can pass through the gaps, then set your tinder on the very top, near the center. The whole pile should look like an upside-down version of the fire you're used to — small at the top, heavy at the base.
Keep the pile compact. You're building something roughly the size of a shoebox, not a bonfire. A small fire that burns hot beats a big one that smolders.
Lighting It and Reading the First Flame
Open the damper fully before you strike a match. Light the tinder at the top of the pile and then step back. This is the hard part: don't touch it. No poking, no rearranging, no adding a log because the flame looks small. The fire needs those first few minutes to climb down through the layers on its own.
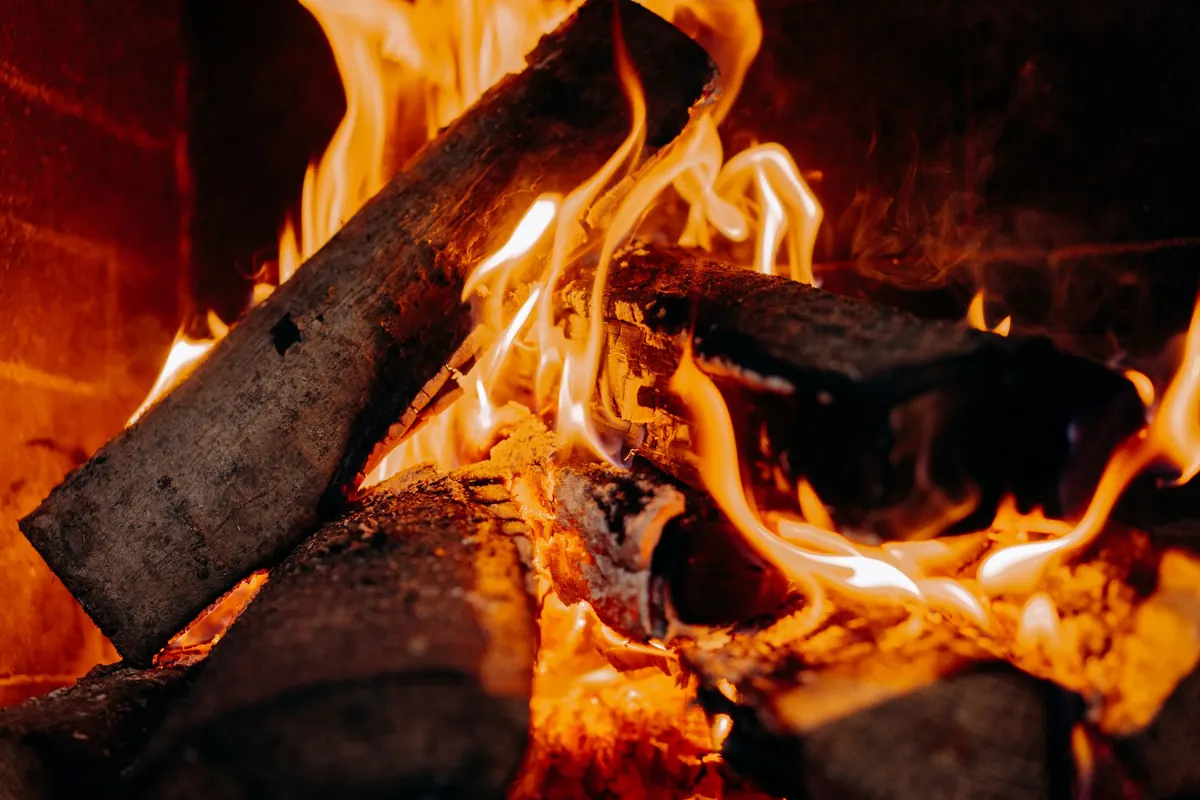
What you should see is a bright flame at the top, kindling catching beneath it, then the middle splits igniting from below, and finally the big logs taking flame along their upper edges. The whole progression usually takes ten to fifteen minutes. Once the bottom logs are burning steadily, you have a fire that will hold for a long time without babysitting.
If the fire stalls
- Not enough air. Check the damper and any glass-door air controls. If your fireplace has a screen, make sure it isn't blocking the flow.
- Wood too wet. Damp splits will steam and blacken rather than burn. Mix in drier kindling and give it time, or save that wood for next season.
- Pile too tight. Use a poker to lift one log slightly and create a channel for air, but only once — resist the urge to rebuild.
Keeping It Burning Clean
Once the fire is established, add wood onto the hot coal bed rather than onto the tips of the flames. Rake the coals forward with a poker so the new splits sit on heat. Two or three medium splits added at once will burn better than one log added every ten minutes.
Aim for a small, bright, lively fire over a good bed of coals. Long, lazy flames and heavy smoke mean the fire is starved for air or the wood is too wet, and that's what builds creosote in the flue. When the wood burns down to coals, that's the moment to reload — burning in cycles like this produces less smoke than a fire that's constantly being topped up.
Never burn trash, gift wrap, painted or treated lumber, or driftwood in a fireplace. Beyond the fumes, those materials can damage the firebox and coat the chimney with things you don't want up there.
A Few Safety Habits Worth Keeping
Use a screen or glass doors to keep sparks contained, and keep rugs, kindling baskets, and furniture well clear of the hearth. Smoke alarms and a carbon monoxide detector on each level of the home are basic equipment for anyone who burns wood regularly.
Chimneys need attention. Creosote accumulates over time, and the only reliable way to know what's in yours is to have it inspected and cleaned by a qualified chimney professional — annually is a sensible default if you burn often, and sooner if you've had a chimney fire or notice heavy black buildup. If you're unsure about the condition of your fireplace or flue, get it checked before your next fire rather than after.
Make It Your Default
The first time you build top-down, it will feel wrong. Your hands will want to put the paper at the bottom. Build it anyway, light the top, and walk away for ten minutes. Once you've watched a fire light cleanly on the first match and burn down through the pile without a single cloud of smoke rolling into the room, going back to the old way won't make much sense. Lay it once more next week, and it becomes the only way you build a fire.
Photo: Mikhail Nilov / Pexels