A chimney rarely fails all at once. It gives you hints for months: a gritty film inside the flue, a faint smoky smell on warm days, a hairline crack in the crown that freeze-thaw cycles keep widening. The trouble is that most of those hints sit in places nobody looks at between October and April.
You don't need a ladder or a license to catch most of them. What you need is a flashlight, twenty minutes, and a routine you repeat twice a year and after any major storm. Work in this order: firebox first, then the ground-level view of the exterior, then the roof edge from a distance. Anything that requires climbing gets saved for a professional with the right insurance and the right brushes.
Start Inside: The Firebox and Smoke Chamber
Open the damper and shine a light up. This is the one place you get a genuinely close look at the parts of the system that take the most heat, so slow down here.
- Firebrick: check for cracks, missing chunks, and brick that has gone soft or crumbly. Damage near the throat or the back wall matters more than a hairline crack in a corner.
- Mortar joints: press on them with a screwdriver handle. If sand falls out or the joints have receded, the firebox is telling you the heat is getting past the brick.
- Grate and log lighter: a sagging grate drops embers against the firebox walls. A cracked gas log lighter should be capped and left off until it's replaced.
- Damper: it should open fully and sit flat closed. Rust flakes, a bent frame, or a plate that sticks halfway is a real problem — a partly open damper costs you heat and can make the house smell like smoke.
- Smoke shelf: that ledge just behind the damper collects soot and creosote flakes. If it's piled up, the flue is shedding and you already have buildup above it.
Shine the light straight up and try to see daylight. Many fireplaces neck down at the smoke chamber, so a limited view is normal. What matters is whether you can see thick, shiny deposits or a curved lip of debris clinging to the sides.
Read the Creosote Before You Burn
Creosote forms when wood smoke cools too fast against the flue walls. Cool flue temperatures, unseasoned wood, smoldering overnight fires, and a closed-down air supply all produce more of it. The deposits come in a few stages, and each one means something different.
- Soft and flaky: sooty, dry, brushes off easily. Clean it if it's more than a thin dusting, but this is the manageable kind.
- Crusty and brittle: hard, crunchy, sometimes shiny on one side. A stiff chimney brush will take it down, but you'll work for it.
- Glazed and tar-like: hard, shiny, black, and dense — it looks like dried tar or shellac. This is concentrated fuel. A stray spark or a hot fire can light it into a chimney fire, and no brush you own will take it off.
A simple field test: scrape a patch of the flue wall with a coin or a putty knife. A light dusting is fine. A visible layer you can peel off in a curl means it's time to sweep. Glazed deposits mean stop burning until a certified sweep clears the flue — and follow that visit with an inspection, because glazed creosote usually comes with heat damage above it.
A chimney fire is not a dramatic event you'll always notice. Sometimes it sounds like a low rumble or a distant train, and sometimes you only find the evidence later: cracked tiles, warped metal, scorched framing.
Check the Damper, Smoke Shelf, and Blockages
On a cold morning, open the damper, light a rolled-up piece of newspaper, and hold it near the opening. Warm air should rise and the smoke should be pulled up. If smoke rolls into the room, the flue is restricted, the house is depressurized, or the stack is too cold — clear obstruction first and troubleshoot the rest second.
Common blockages are boring and predictable: bird nests, squirrel stashes, leaves, wasp nests, tennis balls, and the plastic bag someone stuffed in to stop a draft. If you have a cap with mesh, the mesh itself can plug solid. Look for debris in the smoke shelf and inspect the cap from the ground, which is much easier than discovering the problem on a January night with a house full of smoke.
Put a carbon monoxide alarm on every level of the home and near sleeping areas, and test them on the same day you do this inspection. It's cheap insurance for a system that vents combustion gases right through your living space.
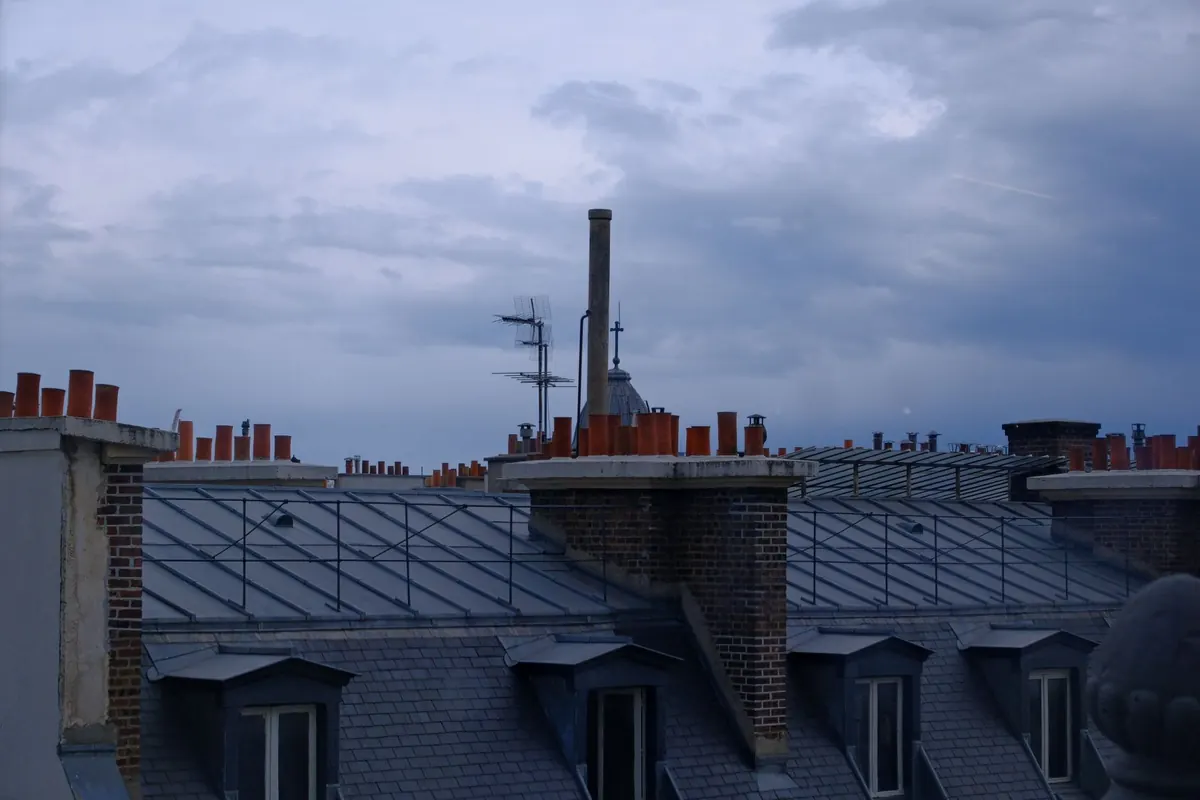
The View From the Ground: Cap, Crown, Flashing, Masonry
Grab binoculars and walk the perimeter. This is where water damage starts, and water damage is what eventually takes chimneys apart. Work through the same list every time, in the same order.
- Chimney cap: is there one, is the mesh intact, is the top panel rusted or warped? A missing cap means rain straight into the flue and animals moving in.
- Crown: the concrete slab on top should slope away from the flue. Hairline cracks are normal; cracks you can fit a coin into, or missing sections, let water in where freeze-thaw can lever brick apart.
- Flashing: the metal sealing the chimney to the roof. Look for rust streaks, lifted edges, gaps, or a thick smear of old roof cement. Brown stains on a ceiling below are a flashing or cap problem, not a mystery.
- Brick and mortar: spalling faces, missing mortar joints, white chalky staining, or a lean that wasn't there last year. Each of these points to moisture.
- Height: the flue should extend well above the roofline and nearby roof structures so smoke clears instead of swirling back down. If your chimney is short or tall trees have grown up around it, you may be fighting a draft problem rather than a blockage.
Take photos each time. Comparing this year to last year tells you far more than a single inspection ever will.
Tools, Timing, and When to Stop
For the indoor portion you need a bright flashlight, a small mirror, work gloves, a drop cloth, a dust mask, and a shop vacuum with a fine filter — not the household vacuum you use on carpets. Soot is fine enough to ruin a normal filter and blow back into the room.
Do the inspection in early fall before the first burn, and again in spring after the heating season, when you can still catch water damage from winter. Professionals generally recommend an annual inspection for any chimney in use, and more frequent sweeping if you burn often or burn soft woods. If you ever hear a rumble, see glowing metal, or smell a hot, acrid smoke with nothing in the firebox, get everyone outside and call the fire department before you investigate.
Write It Down, Then Decide
Keep a short note for each inspection: the date, what the firebox looked like, how thick the creosote was, and what you saw on the roof from the ground. That record turns guesswork into a decision. Water stains, cracked crowns, missing mortar, glazed creosote, or any damage you can see through the firebox means calling a certified chimney sweep rather than scheduling one "sometime."
Everything else on this list you can review yourself, twice a year, in the time it takes to drink a cup of coffee. That's the whole point: the fireplace should be the least surprising thing in your house. And if you're unsure about anything structural, venting-related, or connected to a wood stove or gas appliance, have a qualified professional look before you light up — a second opinion costs far less than a rebuild.
Photo: Lewis Bedar / Pexels