A wood stove straight out of the crate looks ready to go. It isn't. The paint on the surface is still soft, the gaskets haven't seated themselves, and the metal has never been through a full heat cycle. Those first three fires aren't really about heating your house. They're about teaching the stove what it's going to do for the next twenty years. Rush them and you risk a cracked casting, a warped top plate, and a room full of acrid smoke. Take an evening or two to do it properly and the stove settles in quietly.
Why the First Fires Matter
New stoves arrive with residue on them: machining oil, traces of overspray, gasket cement that hasn't fully set. Heat drives all of it off, and that process needs to happen gradually. Metal expands when it warms and contracts as it cools, and the first few cycles relieve stresses left over from casting and welding.
Cast iron and steel behave differently here. Cast iron has more mass and moves slowly, which makes it vulnerable to sudden swings in temperature — a cold firebox hit with a hot fire is exactly how castings crack. Steel plate is thinner and responds faster, so it tolerates small steps well but warps more easily if you push it hard too soon. Either way, the answer is the same: start small, add heat in stages, cool down completely between fires.
Before the First Match
Set yourself up so you're not improvising once there's fire in the box.
- Read the manual for your specific model. Break-in guidance varies between manufacturers, and their numbers beat any general advice.
- Clear the area: furniture, curtains, rugs, and firewood out of a three-foot radius.
- Open a window or door in the room and set a fan to push air through. You will get a smell, and it will be stronger than you expect.
- Move pets and children out of the room. Birds are especially sensitive to fumes from curing paint, so relocate them out of the house entirely if you can.
- Have a stove-top thermometer ready before you light anything.
- Have dry, seasoned wood split small — kindling plus a few splits no thicker than your forearm.
- Check the door gasket, the latch, and every air control. Know which lever does what before you need it in a hurry.
Never use charcoal, lighter fluid, gasoline, or household trash to get a fire going. Paper and dry kindling are plenty.
Fire One: A Short, Gentle Warm-Up
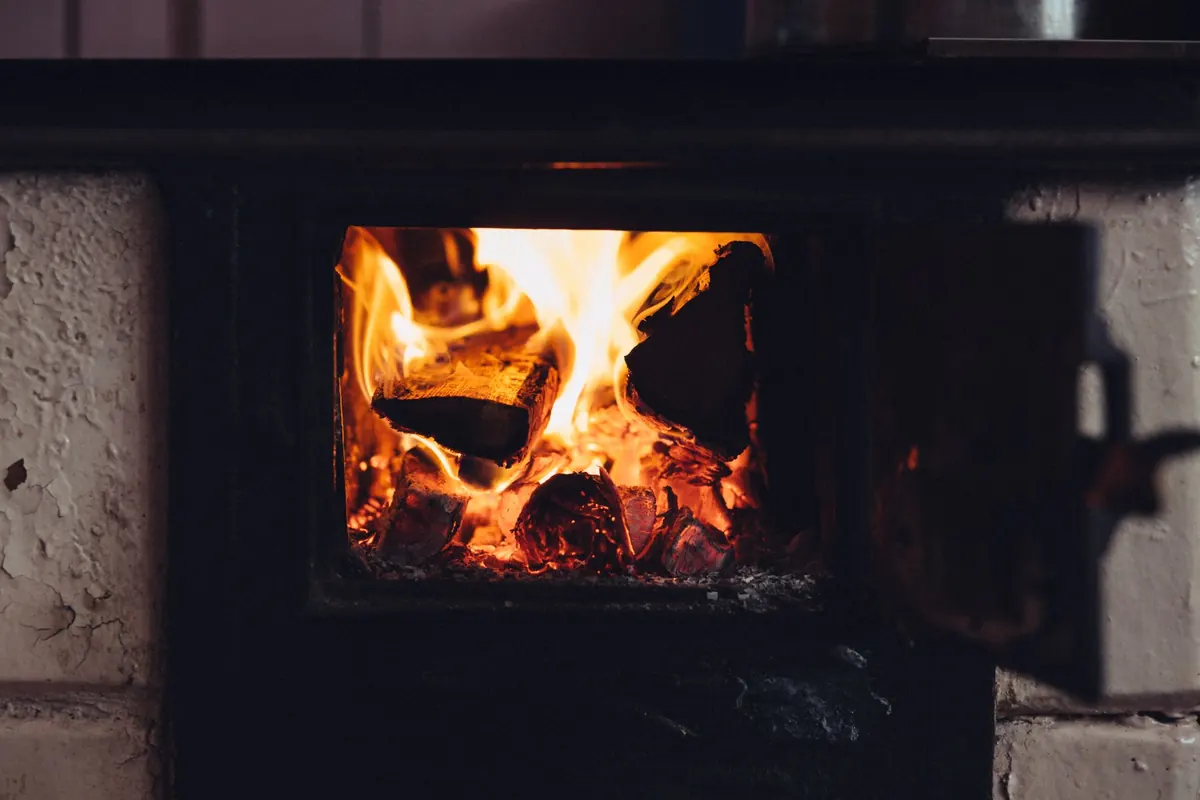
Build a small fire and keep it small. Lay two or three small splits on the firebox floor, pile kindling on top, and light it from the top down. Close the door — cracked open only if your manual calls for it — and leave the air control open until the kindling catches, then back it down.
Aim for a stove-top reading in the 200–300°F range. Let it burn for thirty to forty-five minutes without adding fuel. No roaring, no big flames licking the baffle. Then let it burn out and cool completely, which means a few hours at minimum and overnight if you can manage the patience. The goal is to warm the whole stove through slowly while the paint begins to cure.
Fire Two and Fire Three: Adding Heat in Steps
The second fire
Load a bit more wood this time and use larger splits. Bring the stove top to roughly 350–450°F and hold it there for about an hour, watching for smoke and smell from the paint. Resist the urge to see what the stove can do. Let it cool all the way down again afterward.
The third fire
Now you can run a real fire. Load it properly, set the air control where you'd normally run it, and let the stove top reach 450–550°F for a short stretch. This is where the paint finishes curing. Keep an eye on it, because most stoves have a hot spot on the top plate where temperatures climb faster than the thermometer suggests. Ticking and pinging as the metal expands is normal. Heavy smoke from the paint means you should open a window and ease the air back a notch.
Curing Paint: Smoke, Smell, and What Not to Do
Expect a distinct odor — metallic, faintly chemical, occasionally sharp. It shows up during the first two or three fires and fades each time. Ventilation is the whole game; a fan in the window blowing outward works better than one just stirring the room.
Don't touch the painted surface while it's curing. The finish is soft during this window, and a fingerprint pressed into a warm stove top stays there. Don't wipe it down, either. Once the stove has cured and cooled completely, a dry cloth is all it needs. Water on a hot stove is a bad idea in every sense.
Temperature Control: The Skill You're Actually Practicing
Air is your throttle. More air means more heat, but load size, wood moisture, and your chimney all change the equation. A tight, well-insulated flue draws harder than a tall exterior chimney that runs cold.
Put a thermometer where you'll actually look at it. A magnetic stove-top unit on the hottest flat spot is the common choice, but a probe thermometer in the flue pipe tells you more about what you're losing up the chimney. If the flue temperature runs low, you're making creosote; if the stove top runs high, you're shortening the life of the steel or iron.
Think of the air control as a dimmer switch, not an on/off valve. Small adjustments, then wait and watch.
Preventing Cracks and Warping
Most damage to new stoves traces back to a handful of habits. Avoid these:
- Building a big fire in a cold firebox, especially in a stove that's been sitting in an unheated garage. Let it come to room temperature first.
- Running with the door open and a full load to "get it going fast." That's how top plates bow.
- Overloading the box, piling wood against the glass or above the firebrick line.
- Splashing water into the firebox, or dumping snow on a hot stove to cool it down.
- Tightening door hardware or bolts while the stove is hot. Wait until it's cold.
- Burning green or damp wood, which smolders, smokes, and coats the chimney.
- Letting a hot stove sit in a cold draft with windows and doors thrown wide.
Cast iron punishes rapid cooling more than anything else. Steel punishes prolonged overheating. Learn which one you own and treat it accordingly.
After Break-In: What Normal Looks Like
Once those three fires are behind you, the stove is yours to run. The paint stops smelling, the ticking on warm-up becomes routine, and the door gasket darkens and seats itself into the latch. Check the gasket periodically by closing the door on a dollar bill — if it slides out easily, the seal needs attention.
Leave a thin bed of ash in the firebox; most stoves burn steadier with it. Empty the ash pan only when everything is cold, and never let ash pile up against the grate. From here on, the routine is simple: dry wood, sensible loads, and a fire hot enough to keep the glass clear. Do that and the break-in you did at the start pays you back every winter.
Photo: freestocks.org / Pexels